Learn to solve the Can Not Connect to Target issue using the STM32 microcontroller and the ST-Link Utility. I explain all the steps in a video.
We put together a test circuit to test the proper functioning of our ARM development boards. During the testing we ran into a problem which allows us to present the opportunity to show how we solved the problem.
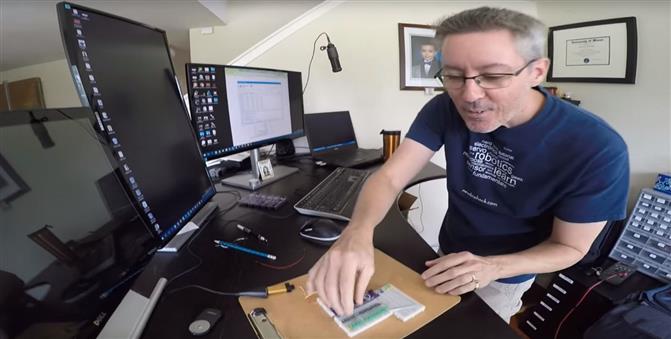
The circuit works by turning on and off an LED for each pin individually so we can determine whether a pin is working or not. This lets us know if there are any bridges between pins on the microcontroller or if there are any cold solder joints.
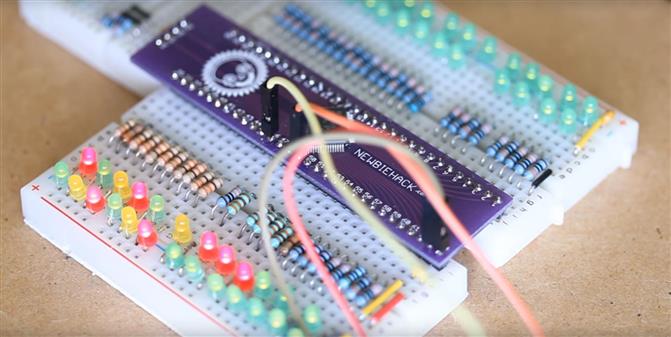
The circuit works as expected, but the problem is the actual programming pins (SWDIO and SWCLK) are set to output to the LEDs as well, even though they don’t have any LEDs. You can always ensure the functionality of these pins just by programming the chip. So how do you get these two pins out of that function so you can reprogram the chip again?
Since those pins have been programmed as a function of digital output rather than SWDIO and SWCLK for programming, there is no way for the STM32 ST-Link utility to actually connect to the chip to communicate with it. The only thing you can get is voltage to the circuit, but no communication can happen.
If you try to connect to the microcontroller you will get a “Cannot connect to target” error and generally the recommendations in the error message aren’t going to be very helpful.
First we need to find the reset pin. On this development board the reset pin is located on pin 7. So we locate pin 7 and put one end of a 500ohm resistor on the pin and pull it down to ground to put the chip into reset mode.
Next we go to the ST-Link utility and select “Full chip erase” (dynamite button). Notice it won’t do anything but it will lock up. Now we will remove the resistor and we see now that the full chip erase progresses successfully.
Now if we click on “Connect to Target”, it will connect perfectly and we can go ahead and program it again and it will program successfully.
01. Arduino for Production!! Introduction to ARM Microcontrollers
02. Arduino for Production!! How to Instal and Set up the Arduino IDE (Integrated Development Environment) for the ARM Microcontroller
03. Arduino for Production!! How to Connect the ST-Link v2 ARM Programmer to your Computer
04. Arduino for Production!! How to Use the CoIDE (Adruino IDE) for ARM Microcontroller Development
05. Arduino for Production!! How to Connect the ST-Link v2 to the ARM STM32 Microcontroller
06. Arduino for Production!! How to Output to a Pin to Blink an LED on the ARM Microcontroller Part 1
07. Arduino for Production!! How to Output to a Pin to Blink an LED on the ARM Microcontroller Part 2
08. Arduino for Production!! How to Output to a Pin to Blink an LED on an ARM Microcontroller Part 3
09. Arduino for Production!! Can Not Connect to Target! How to Establish a Connection Again.
10. Arduino for Production!! How to Receive Input from a Pin for Push Button Input (GPIO) on the ARM Microcontroller
11. Arduino for Production!! How to Receive Push Button Input on the ARM Microcontroller Part 2
12. Arduino for Production!! How to Receive Stable GPIO Push Button Input on the ARM Microcontroller - Software Debouncing Part 1
13. Arduino for Production!! How to Receive Stable GPIO PUSH Button Input onthe ARM Microcontroller - Software Debouncing Part 2
14. Arduino for Production - How to Establish Software Debouncing on the ARM Microcontroller Exclusive
15. Arduino for Production!! How to Interface an LCD on the ARM Microcontroller Part 1
16. Arduino for Production!! How to Interface an LCD on the ARM Microcontroller Part 2
17. Arduino for Production!! How to Interface an LCD to an ARM Microcontroller Part 3
18. Arduino for Production!! How to Interface an LCD to the ARM Microcontroller Part 4
STM32 Microcontroller Experiments Livestream 5