Skip to product information
1 of 10

BuildYourCNC

Plasma Controller and Sensor THC (Torch Height Controller)

Plasma Controller and Sensor THC (Torch Height Controller)

Regular price $250.00 USD
Regular price Sale price $250.00 USD
Sale Sold out
Title
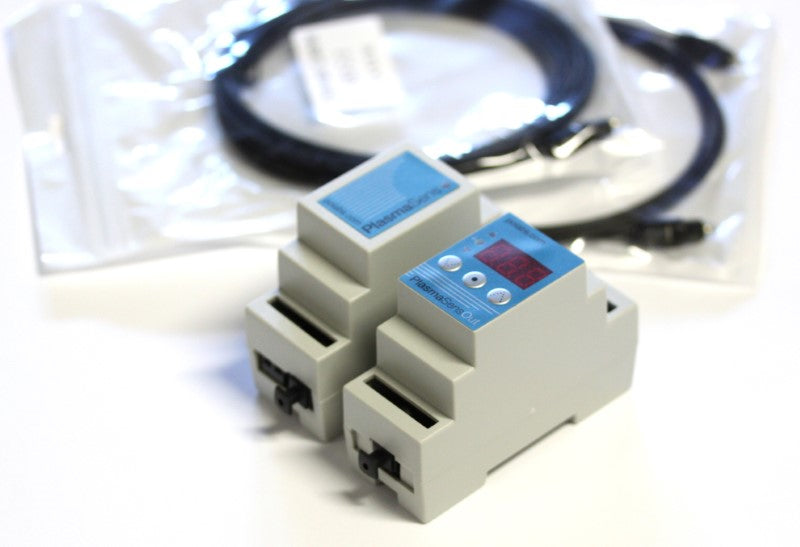
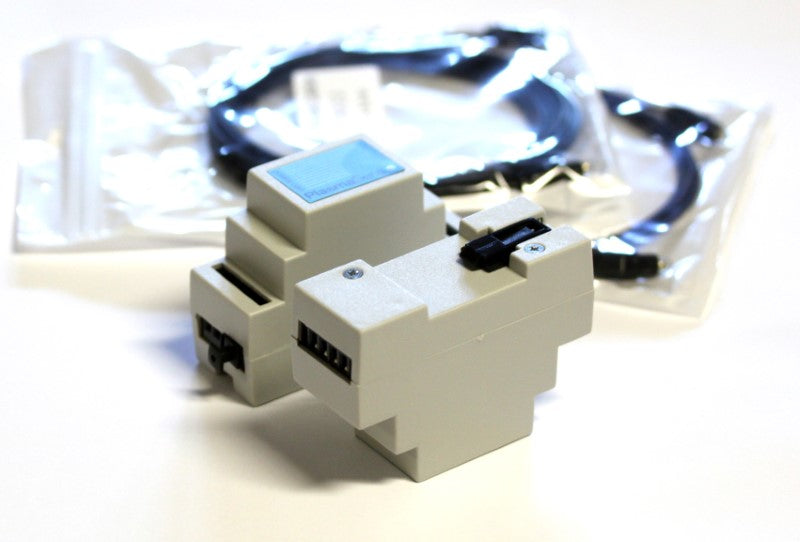
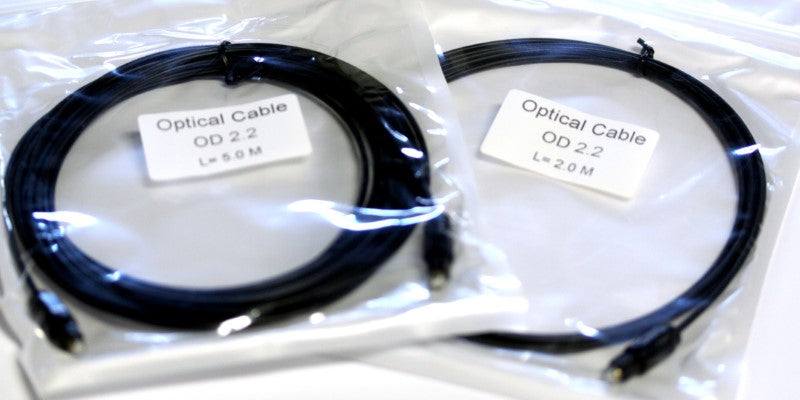
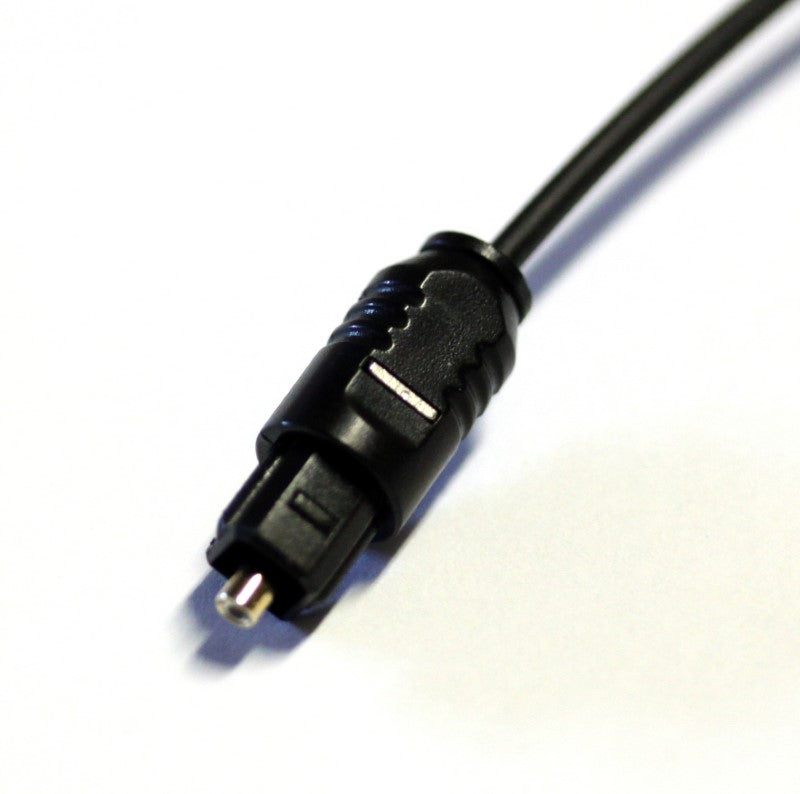
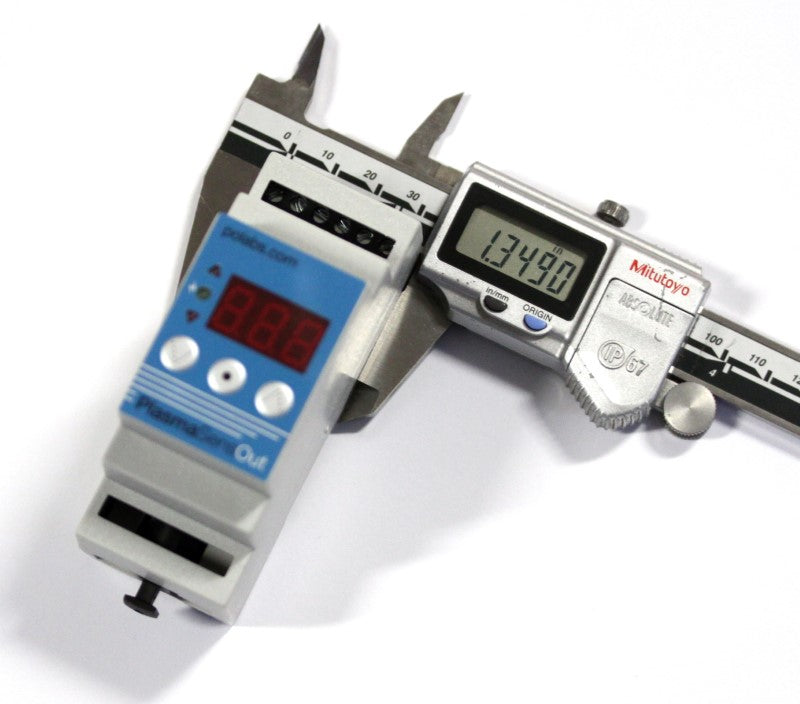
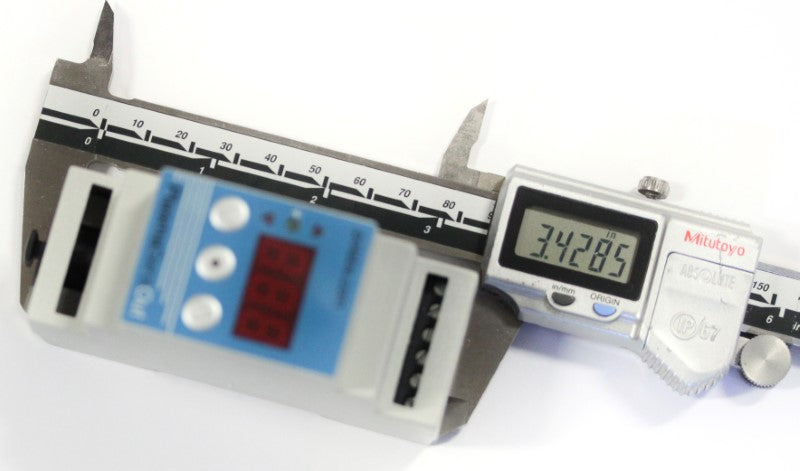
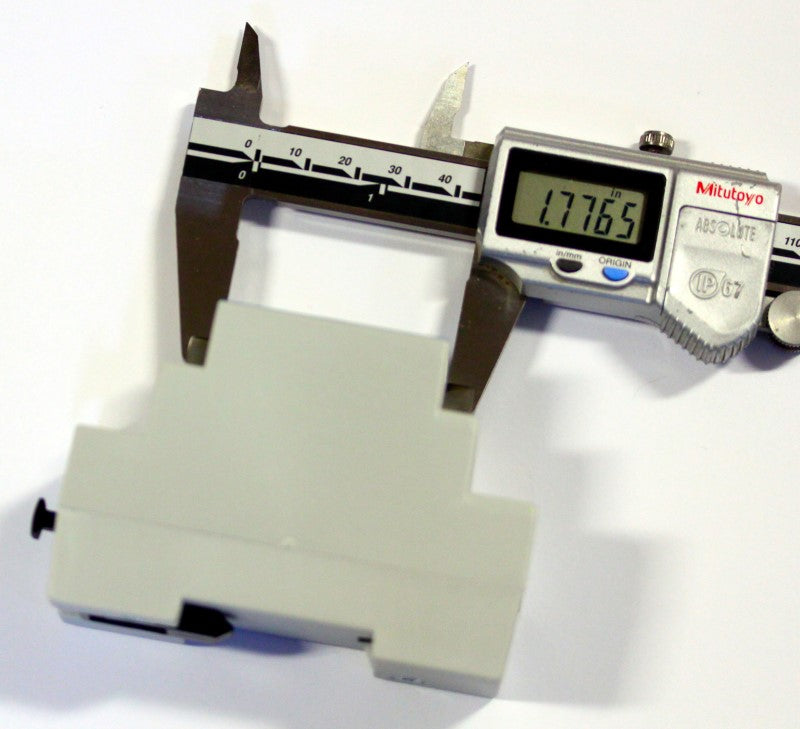
Control the height of your plasma CNC cutter with a Torch Height Controller (THC) that provides the most optimized arc for cutting. This is a device that manages the optimum arc while the CNC passes the plasma along the cutting surface of the material. Since material like steel may contain warping and other inconsistencies, the plasma gun needs to be at the right height from the material to have the optimum cutting effect. This THC solves a lot of problems that may be present in the use of plasma cutting,such as electrical noise. The THC here uses an optical cable that has no electrical characteristics so that the communication from the controller to the THC is clean. It is recommended that this THC be paired with the Pokeys57CNC controller. https://www.buildyourcnc.com/item/electronicsAndMotors-electronic-component-breakout-Mach4-mach3-USB-ethernet-Board Included with this package: The PlasmaSenseOut which communicates directly with the controller and does all of the heavy lifting so the software does not need to. This unit will provide the outputs that connect to the main controller. These outputs are torch up, torch down and arc ok. The PlasmaSense which is directly connected to the plasma machine and communicates back to the PlasmaSenseOut the state of the plasma arc. Two optical cables, one at 2 meters in length and the other at 5 meters in length.
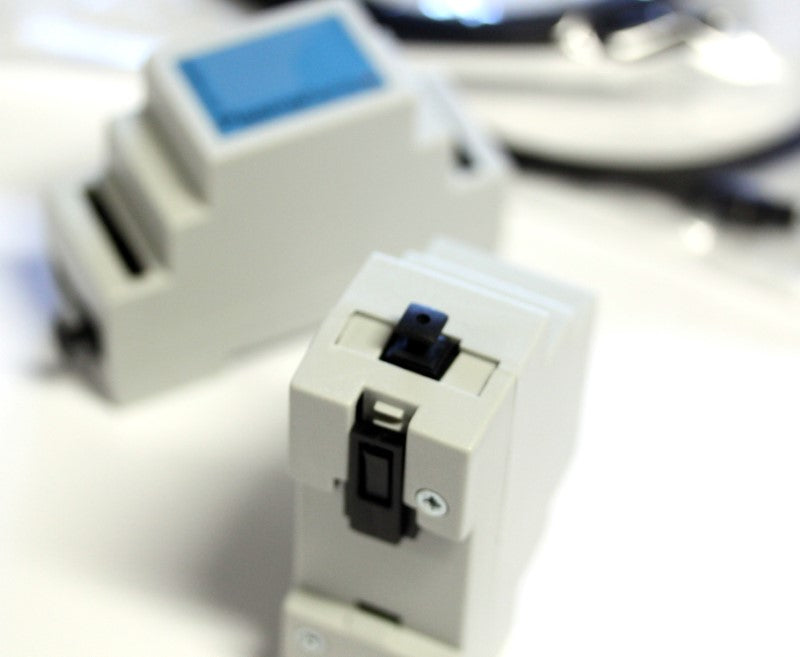
This video focuses only on connecting a plasma torch height controller and configuring Mach3 to use this feature. Prerequisites are that you already connected cables to power supplies, powered your drivers, connected signal wires to the drivers, powered the controller, setup the drivers, configuration, connected the motors to the drivers, configured mach3 accordingly, and tested the motors to insure they spin when jogged. You will need to motors to function properly to test the output of the THC to see the Z axis spin in both direction to demonstrate the arc voltage guiding the z-axis. if you haven't done this yet, there are links in the description where you can find videos and instructions how to complete the prerequisites. The plasma THC that I will be connecting to the pokeys57CNC controller is the PlasmaSenseOut and PlasmaSense , all of these components are linked in the description. the PlasmaSense is connected to the PlasmaSenseOut via a fiber optic cable to isolate the EMI form the plasma torch. I am preparing a 10 conductor ribbon cable to the encoder connector on the controller. These components are a part of the cable pack I sell at buildyourcnc.com, link in the description. I will use only three of the ribbon conductors, conductors 3, 5 and 7. On the encoders connector, conductor 3 connects to pin 8 which will be assigned arc up, conductor 5 connects to pin 12 which will be assigned arc ok, and conductor 7 connects to pin 13 which will be assigned arc down since the ribbon cable is a bit delicate to be directly inserted into the plasmasenseout device, and that the PlasmaSsenseOut device is mounted on a DIN rail, I will be using a cable and connector to connect from the ribbon cable to the plasma sense out. This way, the plasma sense out can live outside of the enclosure to be accessed if needed. The plasmasenseout device will also need to be powered, so I will be wiring the plasmasense out to the power connector of the controller as shown here. In this case, the blue wires is connected to pin 8 (conductor 3), the yellow wire is connected to pin 12 or conductor 5, the green wire is connected to pin 13, or conductor 7, the red wire is connected to positive 24Vdc and the black wire is connected to the DC ground. On the plasmasenseout device, Terminal 6 is positive DC voltage where the red wire will go, terminal 5 is the DC ground terminal and where the black wire will go, terminal 4 is the common terminal and will be also connected to the DC ground with a small jump wire between terminal 5 and terminal 4, terminal 3 is the ARC down terminal and will receive the green wire, terminal 2 is the arc ok terminal and will receive the yellow wire, and terminal 1 is the arc up terminal and will receive the blue wire. Assuming everything is connected correctly, you can configure mach3. Plug in the power for the drivers, and connect the controller to the computer that contains the mach3 software. On the computer, start the mach3 software by either starting the mach3 loader and selecting the correct profile, or double click on the mach3 shortcut of the profile you want to use. In this case, I started mach3mill by accident, but it doesn't matter since I am only configuring the pins at this time, but it is best to start with the mach3 plasma profile. As a sanity check, I am making sure that my motors are functioning properly to assign the arc up, arc ok and arc down, click on plugin control, then click on the configure pokeys57cnc with the id in brackets. The device settings dialog box will appear. Change pin 8's function to input, and the I/O to Input THC UP. Change the function of pin 12 to input and change the I/O to input THC ON, Change the function of pin 3 to input and change the I/O to input THC Down. To link the z-axis to the THC, click on the pulse engine settings tab and click on the Up/down signals radio button. You may need to adjust the gain parameter. I set it to 1 in this case. If you are not in the plasma profile, go into it to test the z-axis movement corresponding to the THC output. Just to verify that the assignments are still the same, I am checking the pokeys57CNC configuration. I am loading a file that I created that contains a bunch of random rectangles and circles, enough that can provide enough time to play with the THC. Make sure the THC button is presses so the green light next to the THC button lights up. Also, press the reset button next to this green light. Press the torch on/off button to turn the torch on. Press cycle start. If the torch on/off is not on (not blinking yellow), the program will run and the motors will move. If the torch is on, the machine will only move if mach3 gets signals from the plasmasenseout THC that the THC is receiving voltage. The machine will only move if the plasma torch arc voltage is within the constraints for optimal cutting. Because I don't have a plasma torch connected to the THC to sense the voltage, the THC has a test function that will allow you to simulate a voltage. Once you use the test to simulate the arc up and down, you will notice the machine moving again, and the z-axis will move according to the up and down of the test. To initiate the test, Press and hold the middle button on the THC until you see the word std, keep pressing the middle button until you see the three letters "tst". once there, you can press the up or down buttons to simulate the arc voltage going higher or lower so the z-axis motor compensates for the arc length. You will notice that when I pressed the up and down arrows on the THC, the x and y motors started again and you can see the Z axis moving in synchrony with the test up and down. The plasmasense device is optically coupled rather than electrically coupled to the plasmasenseout device via a fiber optic cable. To connect: Remove the protection tab from the fiber optic connector on the plasmasenseout. Remove the protection at the end of the fiber optic cable. Insert the fiber optic cable into the plasmasenseout fiber optic connector oriented as shown The other end of the fiber optic cable is connected to the plasmasense device in the same way. to power the plasmasense, the two terminals next to the fiber optic cable connector will accept 110-220 volts AC (actual range is 95 to 260VAC. The neutral terminal is the terminal closest to the fiber optical cable, and the live terminal is the farthest terminal from the fiber optic cable connector The plasmasense device is connected to the plasma torch one of two ways, one option is a + and - Hight Volt connection, terminal 1 is the Hight voltage negative and terminal 6 is the high voltage positive. the other option is to connect a divided voltage of + or - 10 volts. The divided positive connection is terminal 3 and the divided negative is terminal 4. The components are daisy-chained as follows: Plasma Cutter --> PlasmaSens THC --> Fiber Optic Cable --> PlasmaSensOut --> PoKeys57CNC controller. My highly rated Amazon pick for a Plasma Torch: PRIMEWELD CUT60 60Amp Non-Touch Pilot Arc PT60 Torch Plasma Cutter 110V/220V Dual Voltage 3 Year Warranty. I may receive a small commission if you purchase from this link.
View full details

Questions & Answers

Have a Question?

Ask a Question
  • DO WE CAN BUILD OUR CNC MACHINE WITH TOW TORCHES (PLASMA TORCH & OXY ACETYLENE TORCH)?

    As you know, the plasma nozzle must be close to the cutting area and you will need some way to keep the nozzle at the right level with some type of device. The spray is downward, so you will need a contained area with a sheet of water at the bottom to extinguish he spray. You should have no problem using our machines for this application since you would need to product the table bed.

  • CAN YOUR PRODUCTS OF MACHINES BE USED TO CREATE PLASMA TABLE?

    The plasma nozzle must be close to the cutting area and you will need some way to keep the nozzle at the right level with some type of device. The spray is downward, so you will need a contained area with a sheet of water at the bottom to extinguish he spray. You should have no problem using our machines for this application since you would need to product the table bed.

  • Hello! i want to change my existent faulty plasma control to a match control, can you suggest something for this?

    In regards to your current electronics, one of our electronics combo will work perfect in your application. Depending on size of your machine, 1 out of 3 of our combos will work!(modification may be needed and may vary) However, if you are currently thinking about salvaging some items, it might complicate the swap. These are the things that may complicate the swap: First: If your current plasma is running off of servos, none of our controllers will work in your application, hence you will need to replace all your electronics. Second: If you have stepper motors, our interface boards will work with your motors! Only thing is to get it to work hand in hand with your current drivers! Third: If stepper motors are what you have! You might only need a few items to get your machine back up and running Fourth: Our current parallel interface board, will work with Mach 3! Which has a plasma control software implemented with it. Please email customerservice@buildyourcnc.com for further assistance!

  • Hello , Do you have an option to use our FedEx account on overnight service to ship our order to B.C. Canada ?

    Yes, We can overnight packages to Canada using a customer's FedEx account number.

  • my plasma cutter has a 50 to 1 divided voltage what can i do to wire that to the thc? let me know thanks.

    The PlasmaSense THC has two terminals for high-voltage inputs + and - at a max of 350V and alternative terminals for +10 and -10 volts max intended for the divided voltage from the plasma cutter. If the divided voltage does not exceed 10V + or -, then you can use this THC. If the divided voltage is more than 10V, you will need to further reduce that divided voltage.

  • Can this THC with another controller than the one mentionned ?

    This torch height controller can be used with any controller that allows three inputs to be assigned within Mach3. The pokeys57CNC is such a controller. The Mach3 USB controller cannot be used with a THC, but another controller that can accept inputs can be used. The three inputs are used to inform Mach3 of ARC up, ARC ok, and ARC down.